
Last updated November 14, 2026
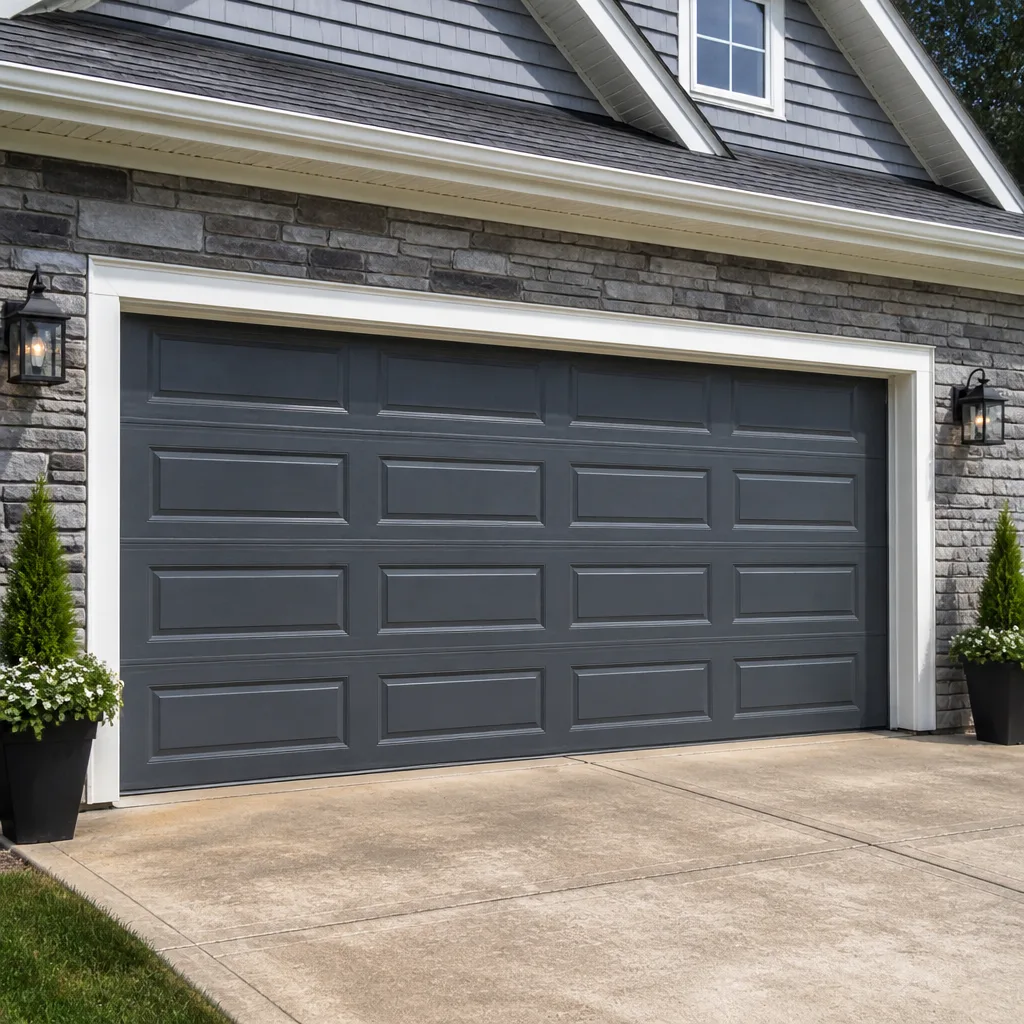 Raised-panel steel
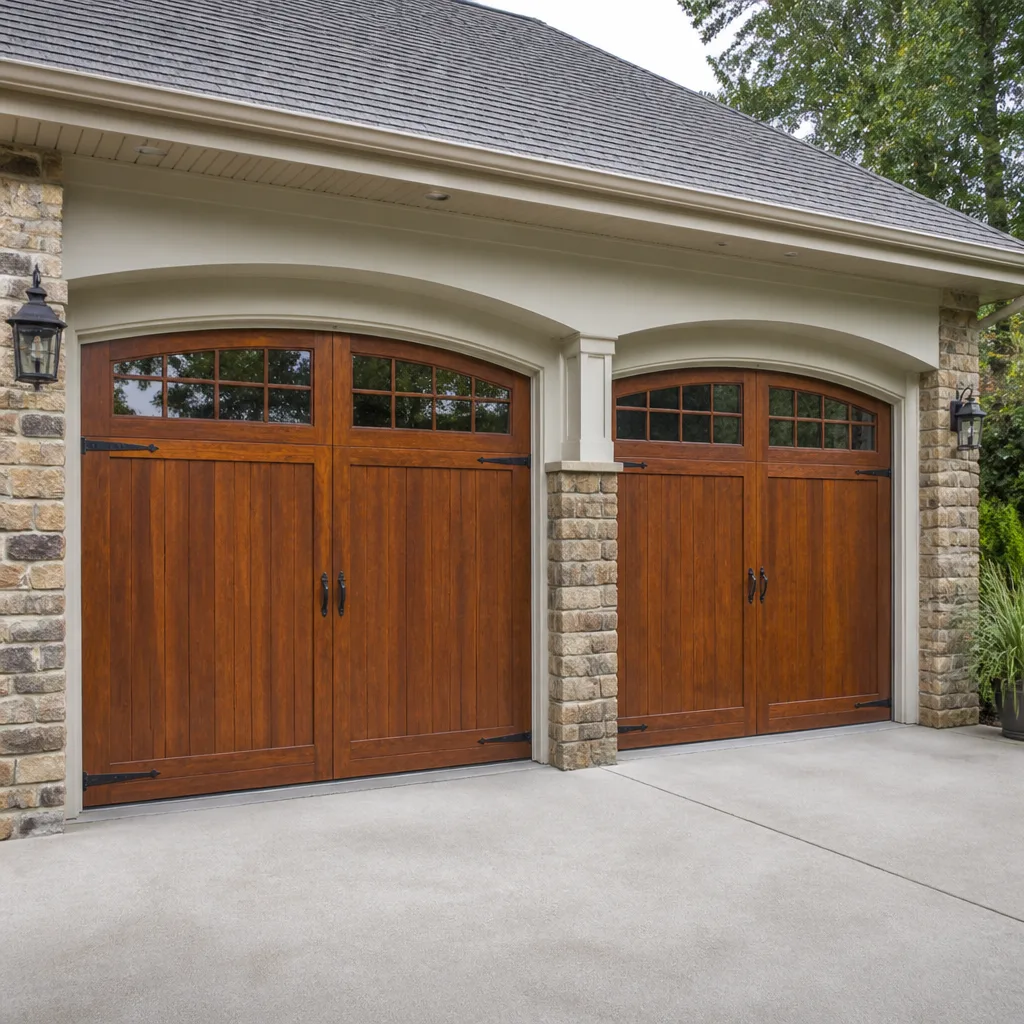 Carriage house
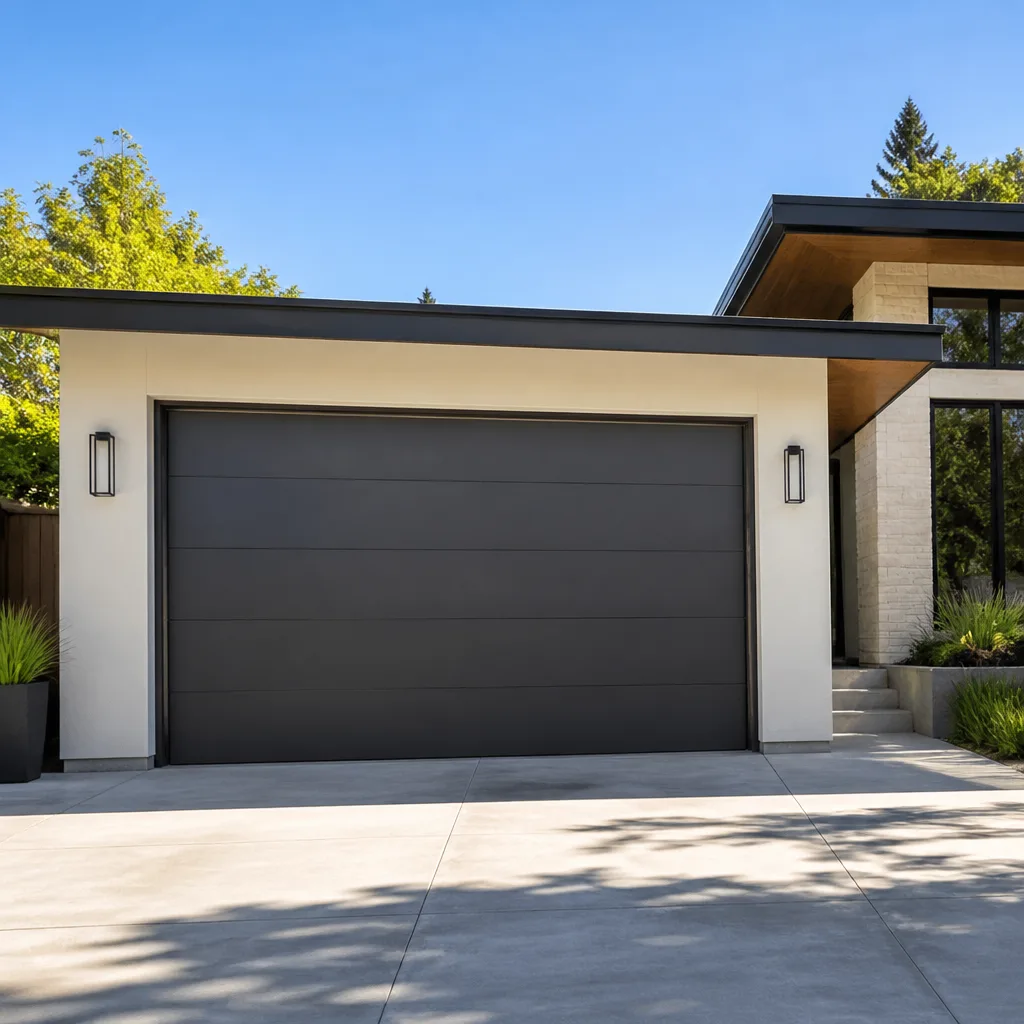 Modern flush
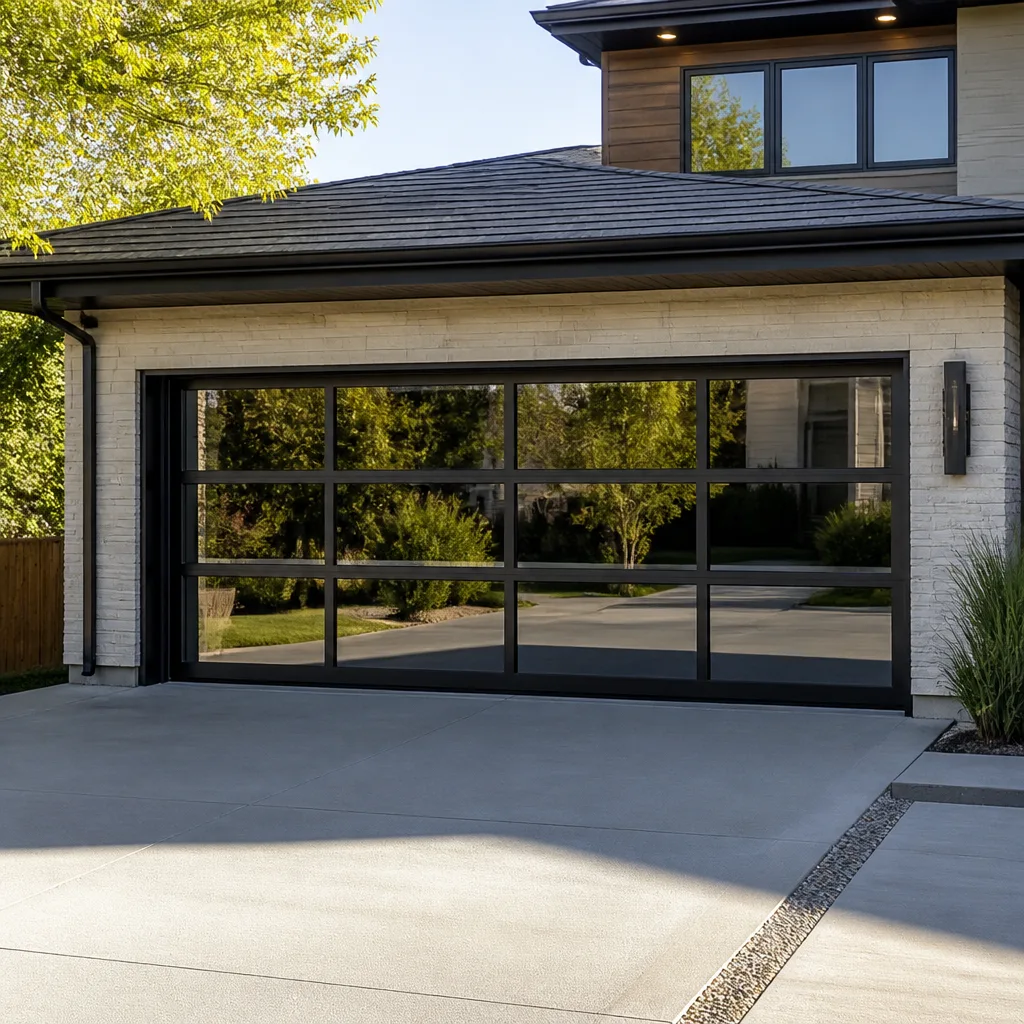 Full-view glass
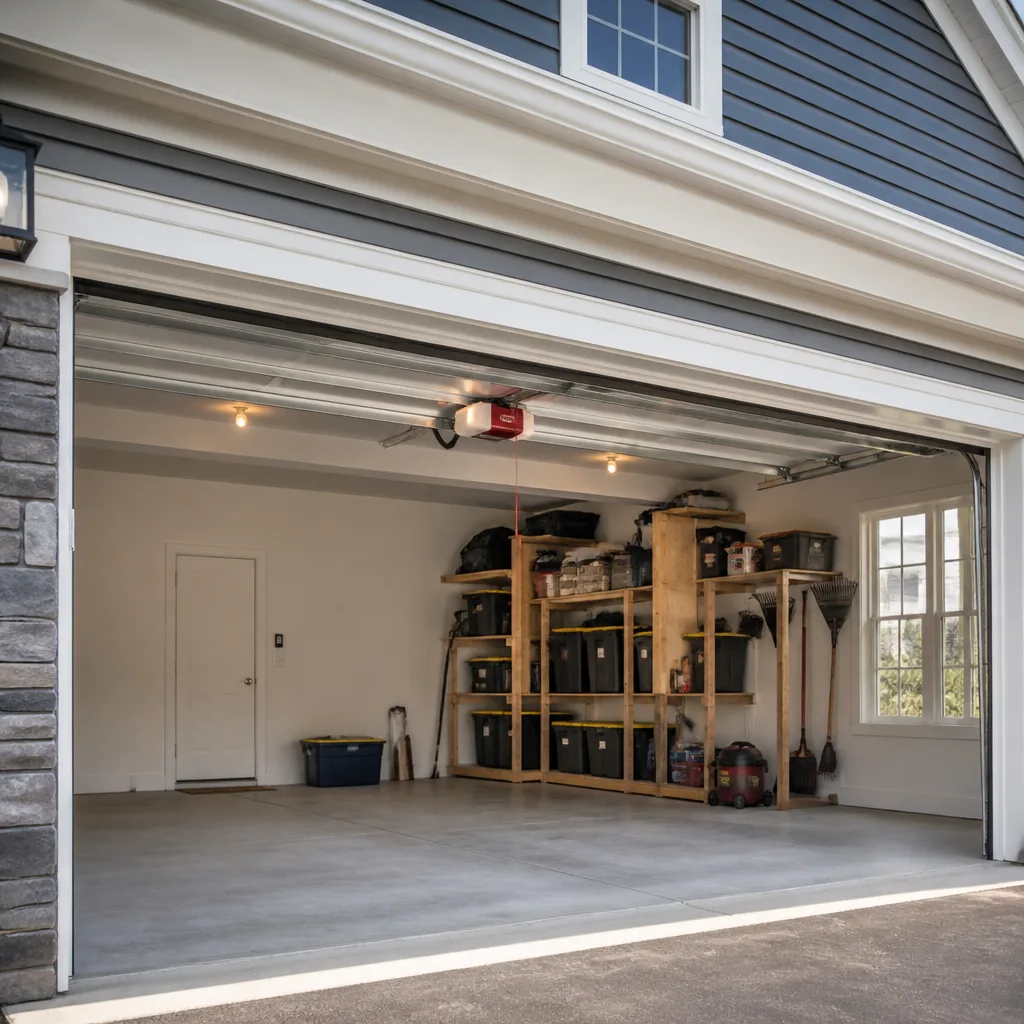 LiftMaster openers
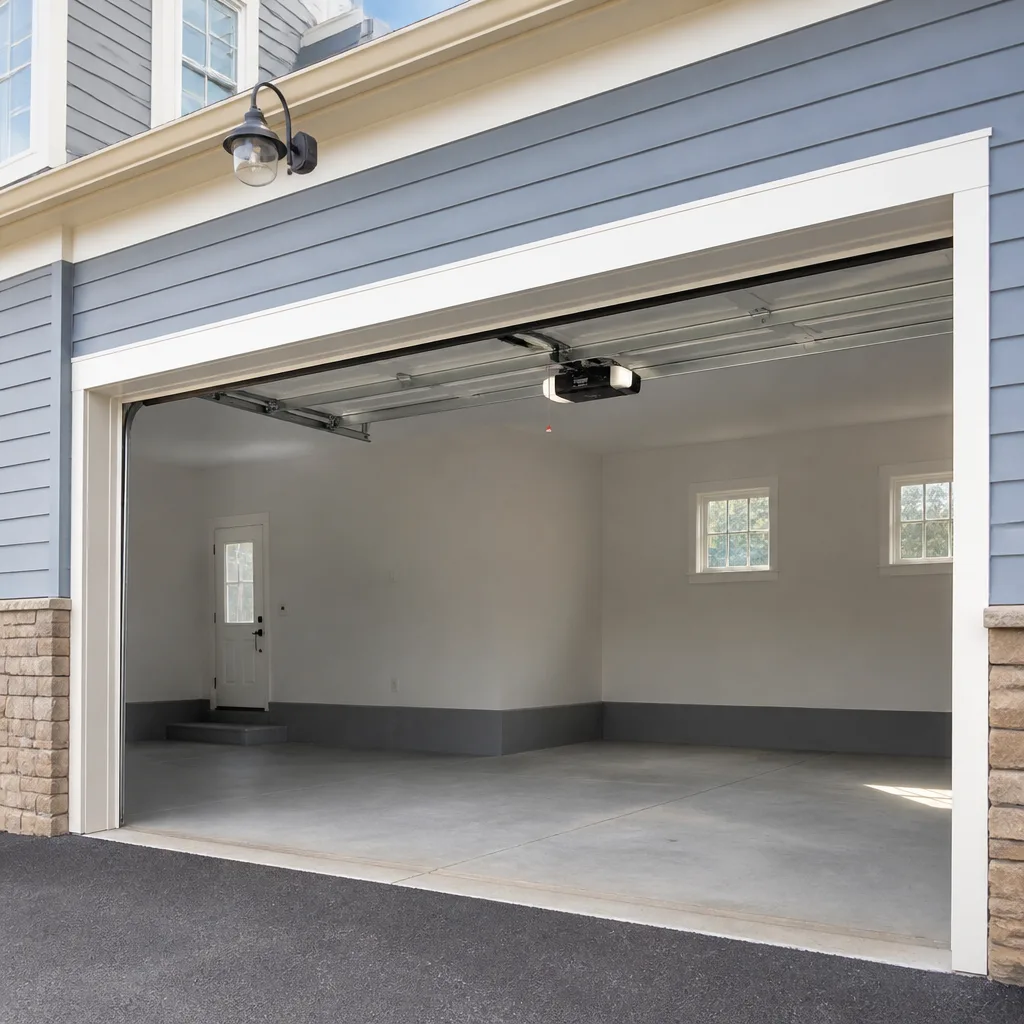 Chamberlain openers
Full 25-point door and opener safety check with every visit - springs, cables, rollers, tracks, and your LiftMaster or Chamberlain opener included
You get a price before we start. It does not change when the pro arrives.
Get your free estimateGarage Door Repair Maintenance Checklist for Brownsville Homeowners
Here’s a fact most maintenance checklists miss: the biggest driver of early spring failure in Brownsville isn’t old age. It’s what humidity does to door hardware over a long, damp summer, and the fact that most homeowners never adjust their lube routine to the climate. That’s why a national checklist, one written for places with four distinct seasons, sends people here in the wrong direction. This guide is built backward from what actually breaks in Brownsville: the parts that corrode, the seals that wear out faster, the dust that finds its way into openers.
What you’ll get is a month-by-month plan for our actual seasons, a rust inspection protocol aimed at the parts that fail first, and the specific maintenance habits that hold up in Valley heat. We work on garage doors and openers in Brownsville every day, and this is the plan we’d hand a homeowner who wanted to stay ahead of problems instead of reacting to them. Read it once, then keep it handy.
Quick Answer
Garage door maintenance in Brownsville means balancing, lubricating, and inspecting the springs, rollers, tracks, and seals on a schedule tuned to high humidity and blowing dust, not to a four-season calendar. The must-do tasks are a lubrication cycle about every six months, a rust and spring check twice a year, weather-seal inspections more often than the national recommendation because of the damp air, and a monthly look at opener safety sensors and photobeam alignment. Most of these you can do yourself; anything involving springs, cables, or the opener’s internal gearing belongs to a trained technician.
Styles & brands we work with
- Raised-panel steel
- Carriage house
- Modern flush
- Full-view glass
- LiftMaster openers
- Chamberlain openers
Table of Contents
- How Garage Doors Fail in Brownsville’s Climate
- Lubrication That Holds Up in High Humidity
- A Rust Inspection Protocol for Local Hardware
- Why Weather Seals Wear Faster Here
- Opener and Sensor Care in Dusty Conditions
- A Month-by-Month Maintenance Calendar
- When to Call a Professional
- Frequently Asked Questions
How Garage Doors Fail in Brownsville’s Climate
Garage doors here don’t fail the way they do up north. In cold climates, the killer is the repeated freeze-and-thaw that works stress into metal and cracks seals. In Brownsville, the pressure comes from the opposite direction: steady humidity, warm air, and the dust that rides in on a windy day. That combination changes which parts wear first and how fast.
The parts that take the most punishment are the springs and cables. Springs are under constant tension, and moisture in the air keeps a thin film against the coils. Unless something protects that steel, corrosion sets in slowly and quietly, eating away at the coil surface from the inside while the door still works fine. By the time you hear the telltale twang of a failing spring, the damage has been there for a while.
The other big failure mode is dust. The Valley’s wind events push fine grit into every gap, and garage openers, with their open frames and moving gears, are prime collection points. Dust mixes with lubricant and turns into a gritty paste that wears down the drive mechanism faster than clean grease would. Bolts and hinges loosen under that same grinding action, and a door that’s a little loose develops a rattle and then uneven travel.
Then there’s heat. Brownsville summers are long and warm, and the interior of a garage gets even warmer. Heat stress on rubber seals, lubricant breakdown from high temperatures, and constant expansion and contraction in metal parts all add up. The result is a specific set of failure modes that a Brownsville checklist has to address directly.
The takeaway: this guide isn’t a generic list. It’s targeted at the three things that actually break doors here – spring corrosion, dust intrusion, and seal wear – plus the heat that accelerates all of them. We’ve seen every one of these play out in homes across the city, and every task below is aimed at one of them.
Lubrication That Holds Up in High Humidity
The lubricant you choose matters more in Brownsville than almost anywhere else. A product that works fine in a dry climate can attract dust here, gum up in the heat, and actually speed up wear. Here’s the short version of what to look for and what to skip.
What Actually Holds Up
- White lithium grease on springs and hinges. It clings well, resists moisture, and doesn’t thin out as quickly in heat. This is the workhorse for the parts that need a heavier coat.
- Silicone-based spray on tracks, rollers, and the opener’s chain or screw drive. It’s dry enough not to collect grit but slippery enough to keep parts moving. A silicone spray on the track also keeps the door gliding instead of dragging.
- Graphite or dry-film lubricant on hinges and pivot points where you don’t want any sticky residue. Dry films are especially good in dusty conditions because they won’t trap grit.
What to Skip
- General-purpose household oil on springs and tracks. It’s too thin, it runs off quickly in heat, and it doesn’t protect against moisture well. It also attracts dust, which turns it into an abrasive paste.
- Wheel-bearing grease and axle grease used where the manufacturer didn’t call for it. These are heavy and can gum up in cool weather, then break down in the heat, leaving a sticky mess.
- Silicone on springs. It’s great for tracks, but springs need a lubricant that stays put and penetrates the coil. White lithium does a better job there.
How often? Every six months is a reasonable baseline in Brownsville. That works out to late spring and early fall if you want a simple rhythm, but any two-times-a-year schedule works. If your garage sees a lot of dust, you may want to wipe down the tracks with a rag before each lube cycle to clear the grit. A dry cloth and then a light silicone coat will do the job. When you’re done, open and close the door a few times to spread the lubricant evenly.
If your opener’s manual specifies a particular lubricant for its chain or screw, follow that. We handle every common opener, from garage door opener repair to the mechanical door itself, and we’re familiar with the chain and belt drives used by LiftMaster, Chamberlain, Genie, and Craftsman. If your opener has specific requirements, a call to us will sort it out.
A Rust Inspection Protocol for Local Hardware
Rust in Brownsville shows up in predictable places. Run this inspection twice a year, ideally at the same time as a lube cycle, and you’ll catch problems while they’re still small.
- Start at the springs. Look closely at the coils for any orange or brown discoloration. Early rust often shows as a faint tint on the surface, not a heavy flake. Pay attention to the ends of the springs, where moisture can collect.
- Check the bottom brackets and the bottom corner of the door. These are close to the floor and get the most exposure to damp concrete and splashing when the door’s up. Look at the bracket itself and the metal skin of the door around it.
- Inspect the hinges and rollers. The hinge plates and the metal shafts of the rollers are prime rust spots. Look for roughness on the roller shafts and any white or orange residue on the hinge plates.
- Run your hand along the tracks. Any rough spots, flaking paint, or sticky residue warrant attention. The inner face of the track can rust in a way that’s invisible from a distance.
- Look at the fasteners. Bolts, screws, and lag bolts that hold the brackets and hinges are often the first things to corrode. A loose, rusty bolt is a liability.
Two things to keep in mind. First, rust on the track or the hardware is fixable and often cosmetic; rust that has thinned a spring coil is a different matter and needs a technician’s eye. Second, the springs and cables are under extreme tension. A trained professional should handle any adjustment or replacement. Do not attempt to undo a spring or cable yourself, and don’t try to spray a coil while the door is under tension. The risk of serious injury is real. If you see rust on the spring’s coils that looks deep or structural, stop and call us.
For the rest, a routine wipe-down with a clean cloth and a little light lubricant on the non-critical parts will slow corrosion. After a lube cycle, a thin coat of lithium on the springs helps protect the coils. For the metal skin of the door, a coat of automotive wax or a similar protectant will shield it from moisture; that’s a nice touch to fit in once a year.
Why Weather Seals Wear Faster Here
National advice says to check your weatherseal once a year. In Brownsville, you should look more often; twice a year is a better baseline, and every few months if you can. The reason is the combination of heat and humidity. Rubber seals expand in the warm months, then contract when the air cools, and that constant movement stresses the material. Meanwhile, the UV in our long, bright summers breaks down the rubber itself, drying and cracking it from the outside in.
Here’s what to check:
- The bottom seal. That’s the flap along the bottom edge of the door. It should be pliable and sit snugly against the floor. If it’s cracked, brittle, or has gaps, it needs replacing. A worn bottom seal lets in dust, water, and pests, and it makes the door’s seal less effective against heat.
- The perimeter weatherstripping. The strips on the sides and top of the frame. Look for gaps, tears, or a compressed profile that no longer makes contact with the door.
- The threshold. If there’s a gap between the door and the floor wide enough to feel a draft, the bottom seal may be too thin or the threshold uneven.
Replacing a bottom seal is a homeowner-level job on most doors and doesn’t involve the springs, so it’s a good one to DIY if you’re comfortable. The perimeter strips are usually a straightforward swap too. Where it gets more involved is when the door itself doesn’t sit flush, which can mean a track or hinge issue; that’s a matter for a technician. We can walk you through the difference, or you can take a look and decide.
Left alone, a failing seal does more than let in weather. It allows grit and moisture onto the door’s tracks and hardware, which shortens the life of the parts you just lubricated. If your door is more than a few years old and the seal looks original, it’s worth putting a seal check on the calendar.
Opener and Sensor Care in Dusty Conditions
Openers are the most overlooked part of the garage door system in a dusty climate. The dust that blows in and settles on the motor housing, the photobeams, and the chain or screw drive is the same dust that can foul a sensor and leave you with a door that won’t close. Here’s a simple routine.
- Wipe the photobeams. The two small sensors at the bottom corners of the door have lenses that face each other. Dust on either lens will interrupt the beam and stop the door. A soft dry cloth once a month is enough. If your door won’t close and the light on the opener motor is blinking, this is the first thing to check.
- Check their alignment. The sensors should be pointed straight at each other. If one’s been nudged, the door will reverse or refuse to close. A quick visual check with the door closed is all it takes.
- Clear the track and door path. Dust, leaves, and debris build up at the floor. The opener is designed to reverse when it meets an obstruction, and grit in the door’s path can trigger that safety feature. Sweep or vacuum around the door’s edge every so often.
- Wipe the opener housing. Use a soft cloth to clear the vent slots and the top of the housing. This keeps dust out of the motor’s air path. Don’t push dust into the housing; wipe it away.
- Test the safety reverse. With the door open, place a piece of wood flat on the floor under the door and hit the close button. The door should reverse on contact. If it doesn’t, the opener needs a technician. This is a critical safety test and shouldn’t be neglected.
One more note on smart openers. If your system runs on LiftMaster/myQ or Chamberlain’s smart platform, the same dust and moisture that bother the mechanical parts can affect the Wi-Fi module’s reliability. Dusting the opener housing and keeping the module clean helps. If you’ve noticed your app losing connection or the opener acting unpredictably, a technician can check both the mechanical side and the electronics. We work on all the major brands, from Genie and Craftsman to the smart-home systems, so a single call covers both.
If your opener is the older style with a chain drive, listen for changes in sound. A clicking or grinding chain often means dirt has infiltrated the drive and the chain needs cleaning and re-lubricating. If it’s a belt drive, it’s quieter, but dust can still get in. Either way, the routine above will keep it running smoother for longer.
A Month-by-Month Maintenance Calendar
This calendar is built around Brownsville’s actual seasons, not a four-season model. Adjust the timing to your own schedule, but the sequence matters: lube before dust season, seal checks before the long hot stretch, and a deep inspection before the cooler months.
Late winter / early spring (February – March): Do a full visual inspection of the springs, cables, and hardware, and check the weatherseal after the cooler, wetter stretch. This is a good time to do the first lube cycle of the year, with white lithium on the springs and hinges and silicone on the tracks and rollers.
Spring (April – May): Test the safety reverse and check the photobeams after any windy periods. Clear the door’s path and give the tracks a wipe-down. If the seal showed wear in the earlier check, replace it now, before the heat sets in.
Summer (June – August): Focus on dust and heat. Wipe the photobeams monthly, check the opener housing for grit, and listen for any change in the opener’s sound. Watch for cracked or dried-out seals; heat accelerates that. If the door has been sluggish, this is the time to look at the tracks and rollers.
Early fall (September – October): This is the second lube cycle, and the best time for a thorough rust inspection. Check the springs closely, the bottom brackets, and the hinges. If you see rust on the spring coils, call a technician rather than trying to treat it yourself. This is also a good time to re-check the seals after the hot summer.
Late fall / winter (November – January): Cooler weather is a good time to inspect the door’s balance and travel. Open and close it a few times and watch for any wobble or uneven movement. Test the safety reverse again. If the door isn’t running smoothly, a technician can check the springs, cables, and opener together.
If you want to keep it simple, the core three tasks – lube twice a year, rust check twice a year, seal check twice a year – can be bundled into two sessions: one in spring and one in fall. The monthly photobeam wipe is the only task that needs a more regular rhythm, and it takes a minute. If you maintain that rhythm, you’ll stay ahead of most of what goes wrong in Brownsville.
For major issues, our garage door repair team can take a look and give you a clear assessment. A visit now can save you a bigger problem later, and we’ll tell you exactly what we see.
See the difference
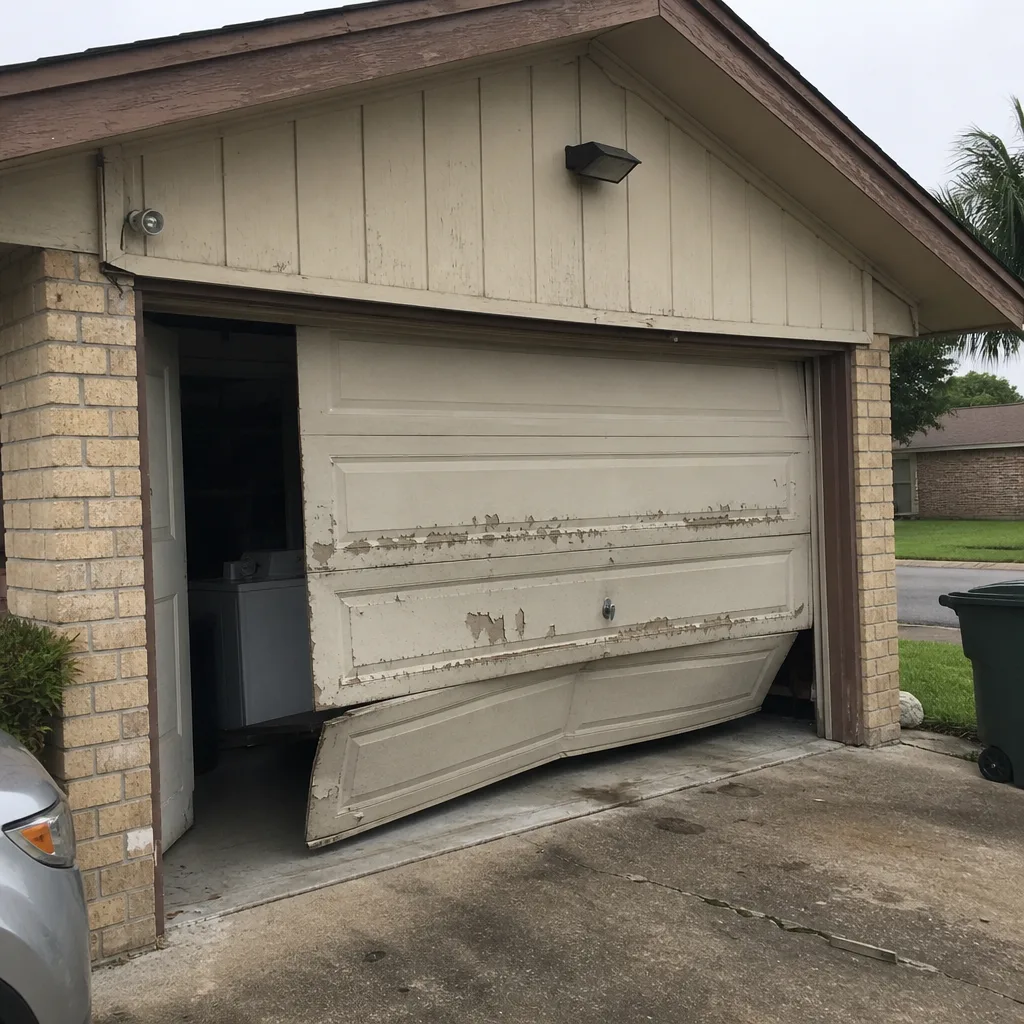 Before
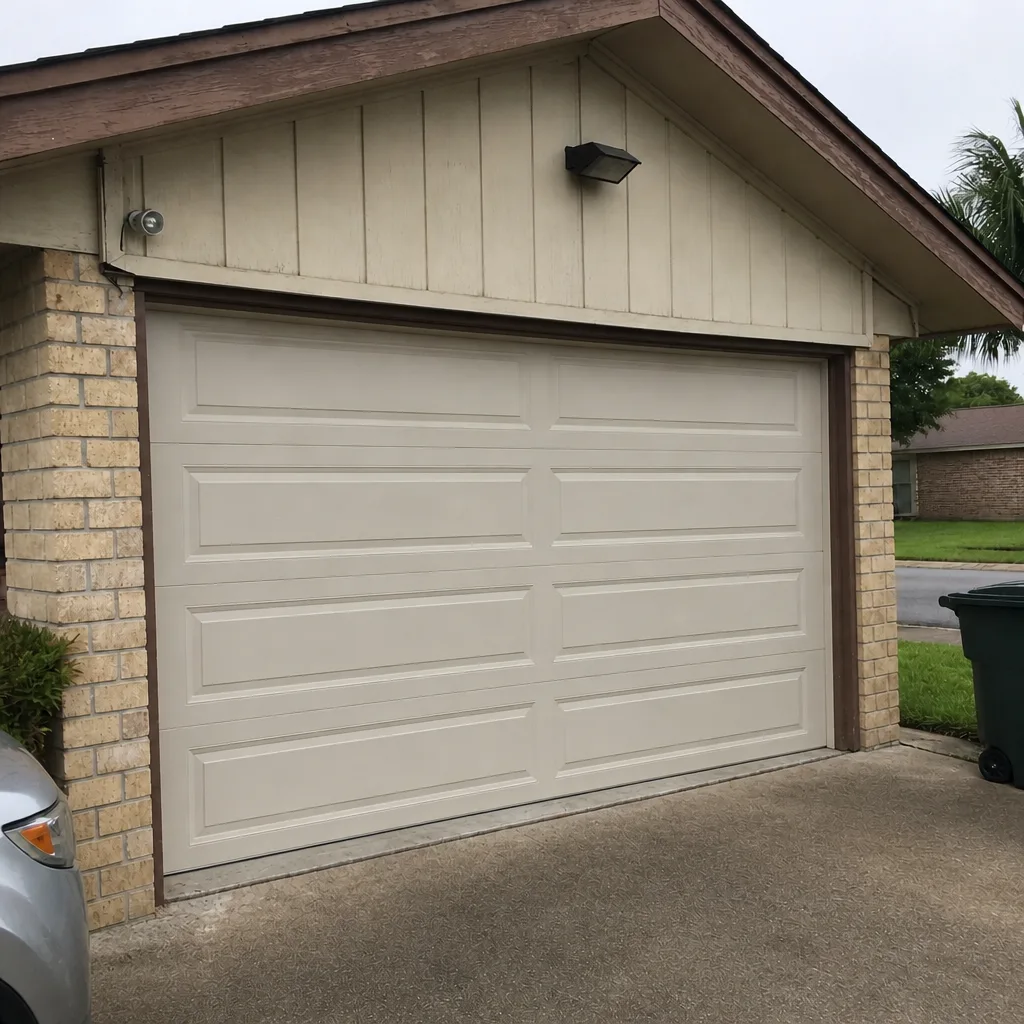 After
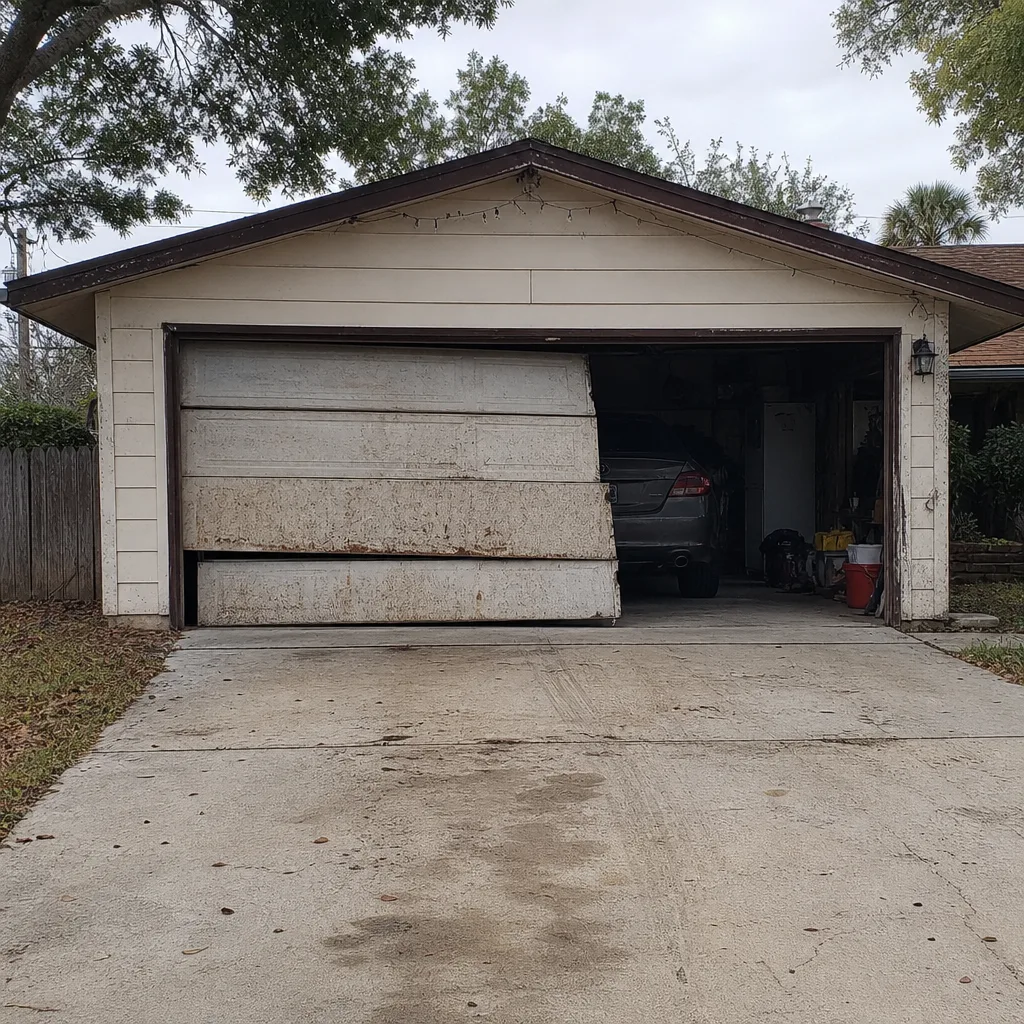 Before
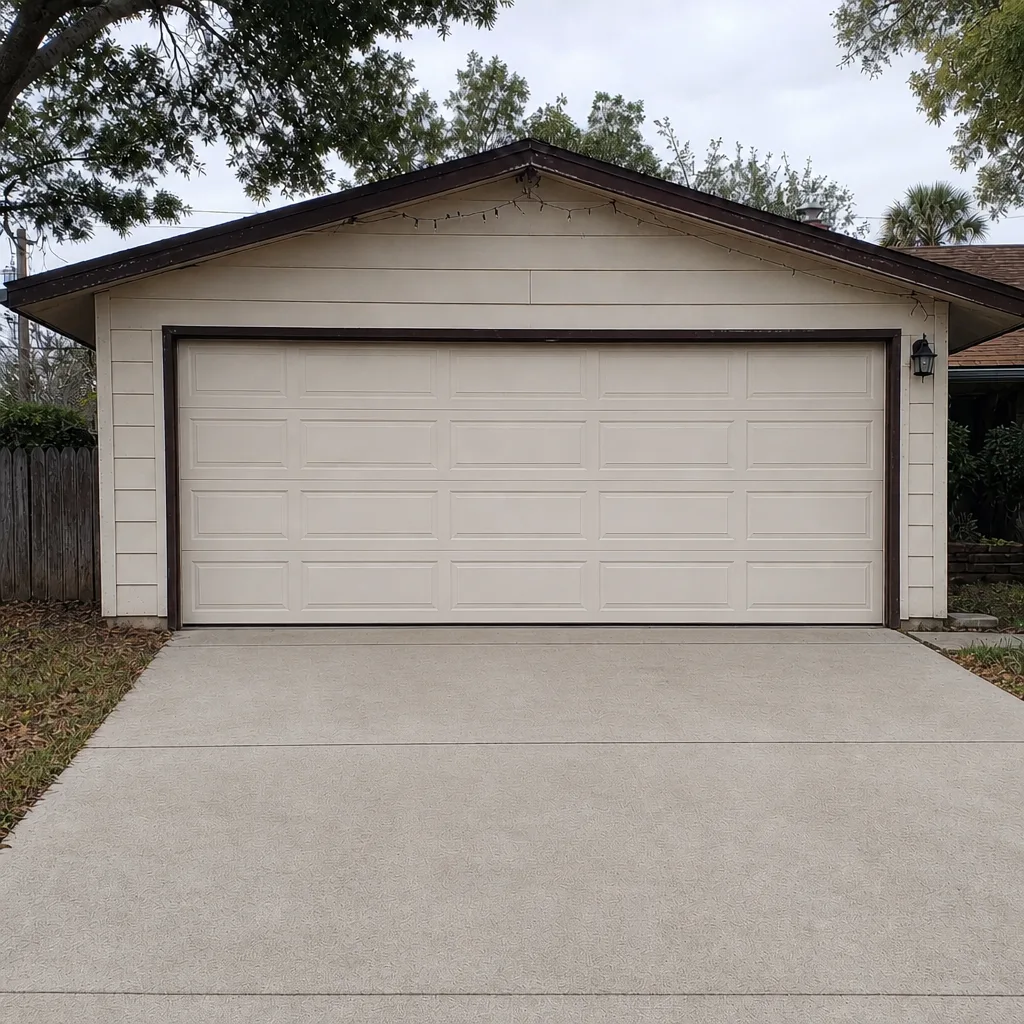 After
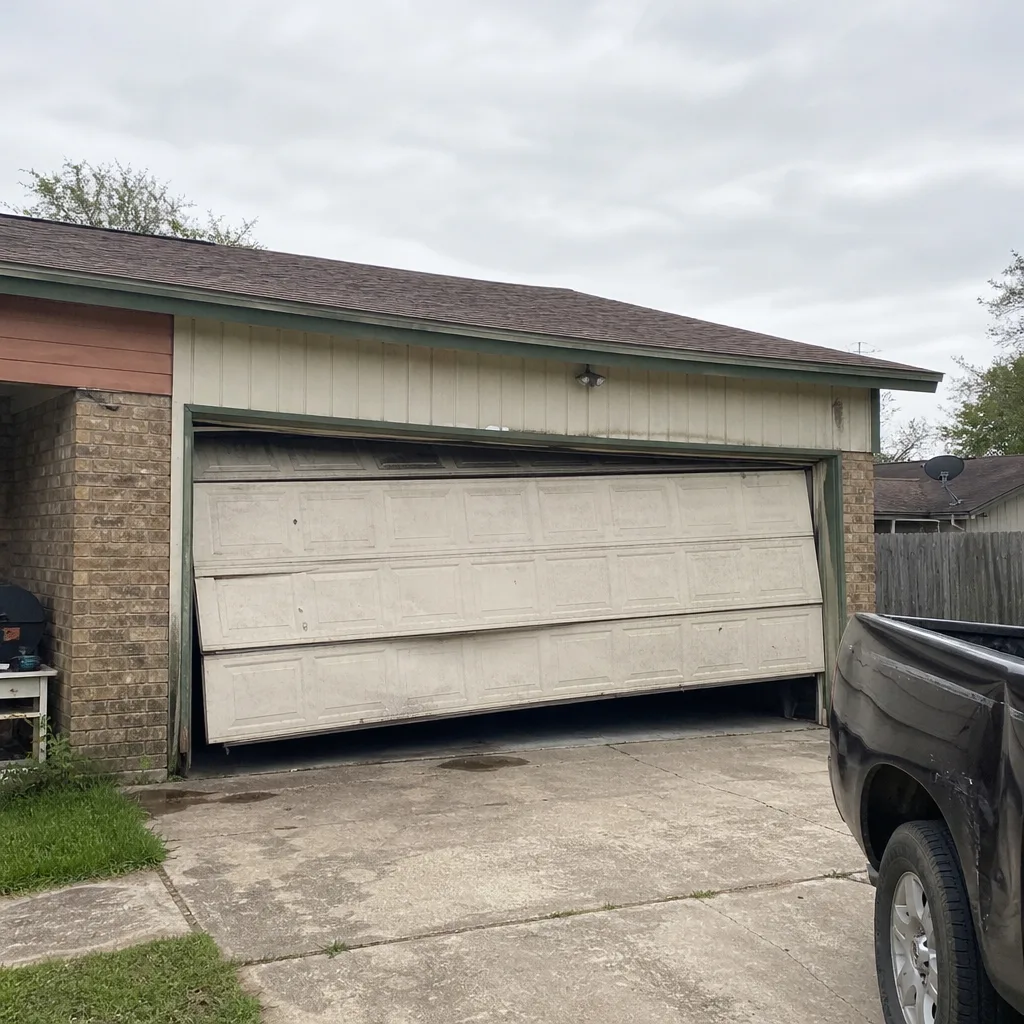 Before
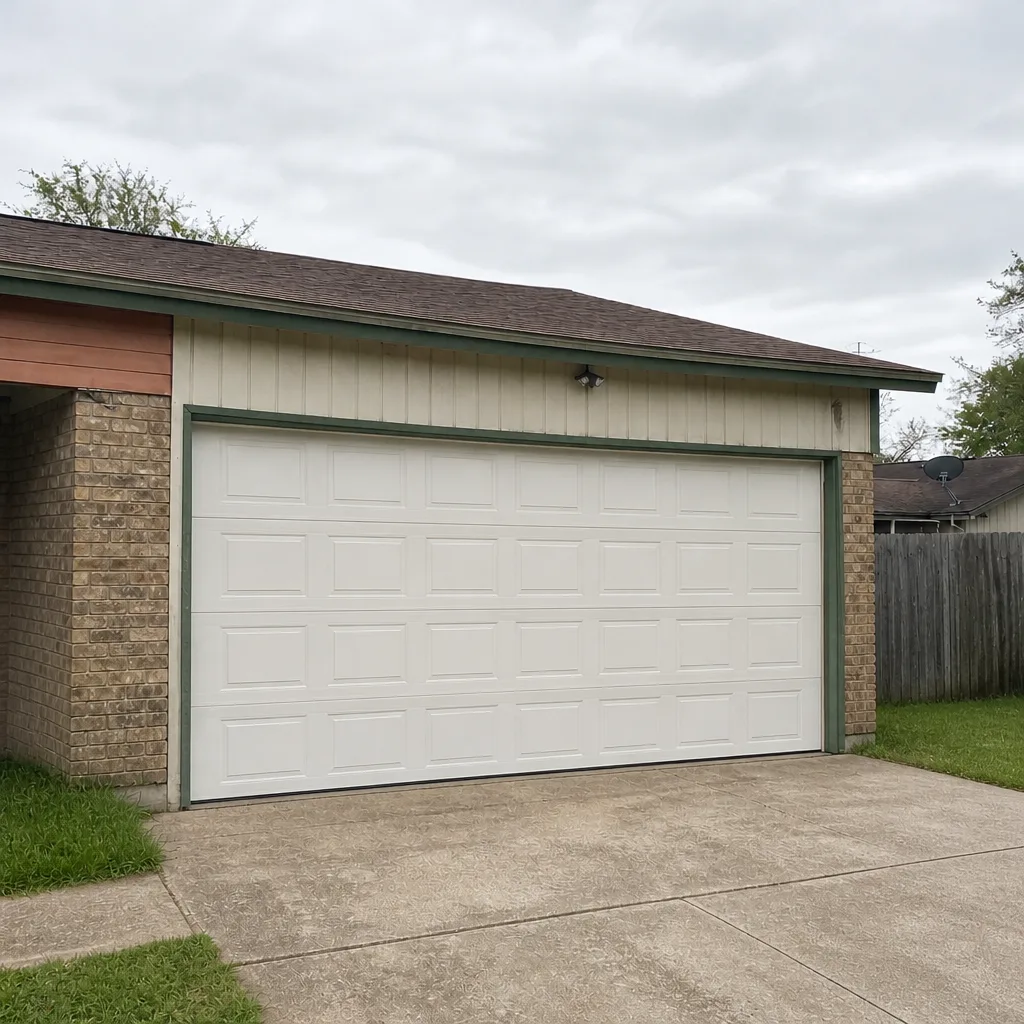 After
Common Mistakes to Avoid
- Using the same lube on everything. Silicone on the tracks, white lithium on the springs and hinges: the parts need different products. A general-purpose oil on everything is what gums up tracks here.
- Waiting for a noise to do anything. A squeak or rattle is an early warning, not a final notice. In our experience, doors that get routine attention are far less likely to fail at the worst moment.
- Spraying lubricant on a coil under tension. It seems harmless, but the springs and cables hold enormous force. Even a light spray while the door is up and under load can go wrong. Leave spring work to a technician.
- Ignoring the weatherseal until it’s cracked. By the time the bottom seal cracks, moisture and grit have already gotten into the tracks. Check it twice a year, not once.
- Assuming a single brand or older system can’t be serviced. Whether your door is a Clopay, an Amarr, a Wayne Dalton, or a Raynor, and whether your opener is a modern smart system or an older Craftsman, we can work on it.
- Over-tightening the bolts. A loose bolt is a problem, but overtightening can strip threads or crack a bracket. Tighten to snug, not to the limit.
- Pressure-washing the door or track. A quick rinse is fine, but a pressure washer can force water into places you can’t dry, speeding up corrosion. Stick to a wipe-down.
When to Call a Professional
Some maintenance is yours to do; some isn’t. Call a professional if you hear a loud snap from the springs, if the door rises unevenly or hangs on one side, if the door won’t close and the photobeam isn’t the cause, or if you see deep rust on a spring coil. Any work involving the springs or cables is a job for a trained technician – the tension in those parts is dangerous, and the risk of injury from a DIY attempt is serious. We handle springs and cables with the proper tools and can tell you exactly what’s worn and what can wait.
At Amberly Garage Door Repair, we offer free estimates in Brownsville and can give you a straight assessment of what your door needs. Call (855) 360-7115. We answer 24/7, with fast dispatch from 7am to 7pm, Sunday through Friday. If you’d rather get the numbering right, our Brownsville team is just a call away.
Frequently Asked Questions
About every six months, with white lithium grease on the springs and hinges and a silicone spray on the tracks and rollers. In our humid climate, a mid-year wipe-down with a dry cloth before each lube cycle helps keep dust from turning the grease into grit. If your door sees a lot of blowing dust, you may want to shorten the interval. Call (855) 360-7115 for an exact recommendation if you’re unsure.
Moisture in the air reacts with the steel coils over time, especially where the surface is unprotected. Brown or orange discoloration on the coils is an early sign; deep, flaking rust means the coil is weakening. Don’t try to treat or replace springs yourself. Call a professional to assess them.
Yes. Twice a year is a better baseline in Brownsville because of the heat and humidity, which dry out and stress the rubber. A bottom seal that’s cracked or brittle lets in dust and moisture, so replace it as soon as you see wear. Call (855) 360-7115 for a free estimate if you’d like a check.
Start with the photobeams at the bottom corners. Dust or a nudged sensor will stop the door, and a quick wipe or a visual alignment check often fixes it. If the sensors look clean and aligned, the opener may need a technician. Call us for a free estimate and an assessment.
Yes. We work on eight major brands, including Clopay, Amarr, Wayne Dalton, and Raynor for doors, and LiftMaster, Chamberlain, Genie, and Craftsman for openers. One call covers both the door and the opener, with no handoffs. Call (855) 360-7115 to get started.
Mostly the same routine, with a little extra care for the electronics. Wipe the housing and keep the vent slots clear, and test the safety reverse monthly. If the app connection drops, a technician can check the mechanical and electronic sides together. We’re familiar with LiftMaster/myQ and Chamberlain’s smart systems.
The Bottom Line
Keeping a garage door healthy in Brownsville means more than following a generic checklist. It means protecting the springs from moisture, keeping dust out of the opener and sensors, and checking seals more often than the national recommendation. A six-month lube cycle, a twice-yearly rust inspection, a seal check at the same time, and a monthly wipe of the photobeams will keep most doors running smoothly. The rest – springs, cables, and major opener repairs – belongs to a trained technician, and a periodic check is worth the call. If you’ve got a door that’s due for attention, or you’d just like a clear answer about what yours needs, get in touch. Our technicians have up to 12 years of experience, and we’ll give you a written estimate before any work starts.
Amberly Garage Door Repair is your full-spectrum garage door team in Brownsville. We handle repair, opener service, and new installation, and we know the brands you have. See our full service list at Amberly Garage Door Repair. To book a free estimate, call (855) 360-7115. We answer 24/7. Fast dispatch from 7am to 7pm, Sunday through Friday, and we’re closed Saturday.
Written by the team at Amberly Garage Door Repair.